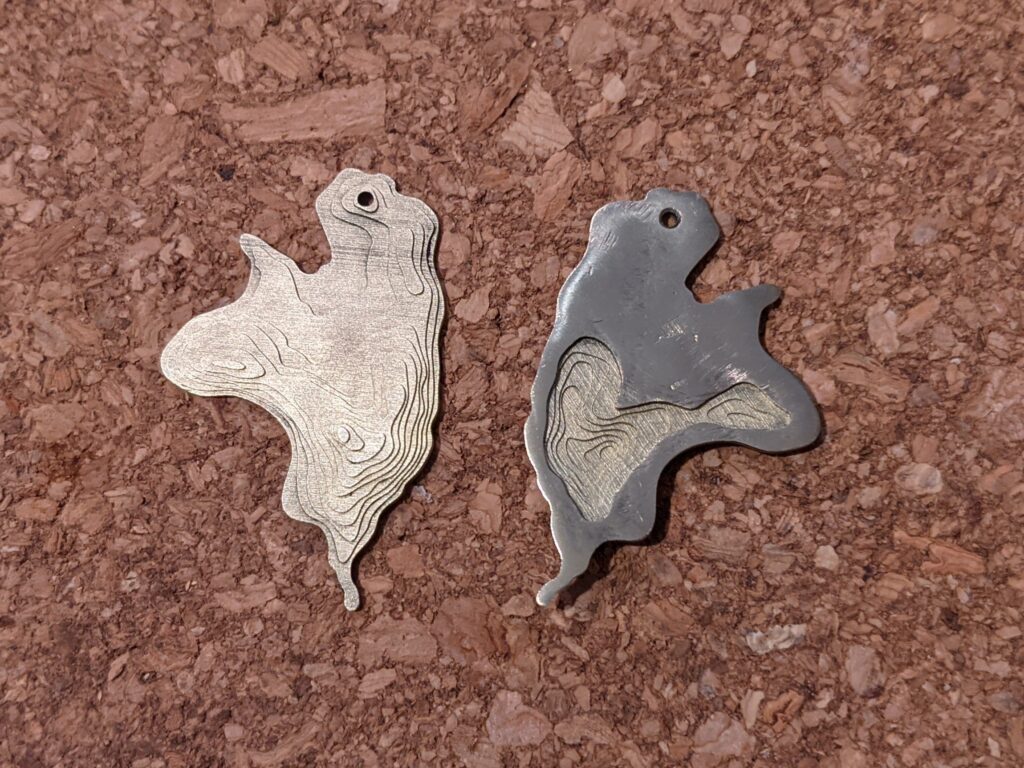
The possibilities! I recently learnt that I can create wax cartable models on my new SLA printer and now I’m having an absolute blast learning about metal casting. I’m blown away with the results so far.
The method I’ve been experimenting with is ‘lost wax casting’ and my first casting project was to create a set of topology earing in brass, the design I made a few of months ago.
For this first metal casting project, I created two batches of earrings. First I used a service provider to both make the wax castable model and do the casting. Then for the second batch – and going forward – I used my SLA 3D printer to create the wax model for casting.
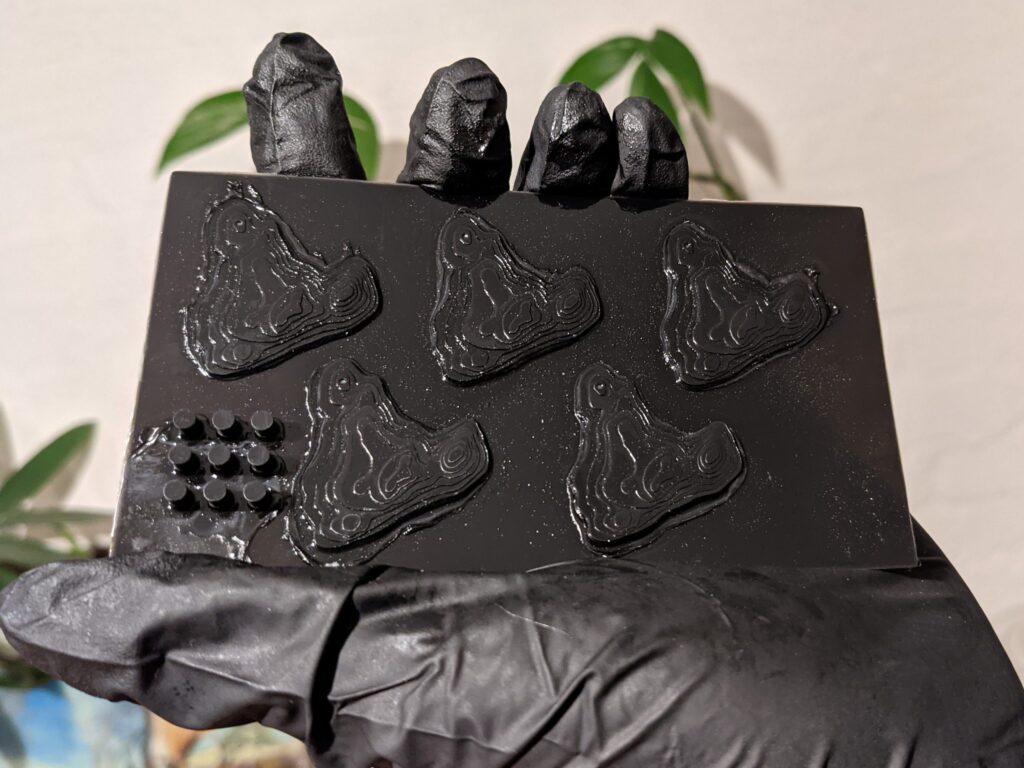
In this post I wanted to focus on a specific part of the process, removing the metal sprue. The sprue is the leftover stick of metal from where metal flows into the mould cavity during casting.
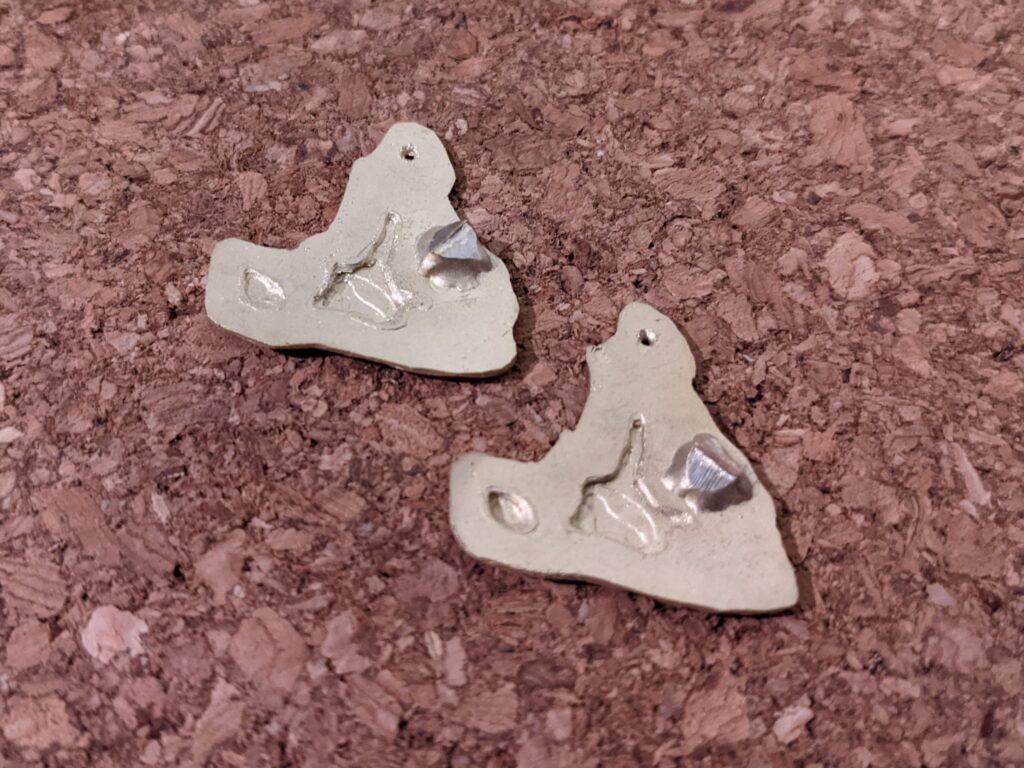
Just to be clear, metal casting is brand new to me. The intention of this post is to share my learning. I can’t wait to learn more and keep improving my methods and technique!
Step 1: Cut off the Sprue
For each of the steps bellow I used different attachments on my handy Dremel. While I’m a big believer in the right tool for the job, I’m happy to report that the Demel just about got me there for this first try.
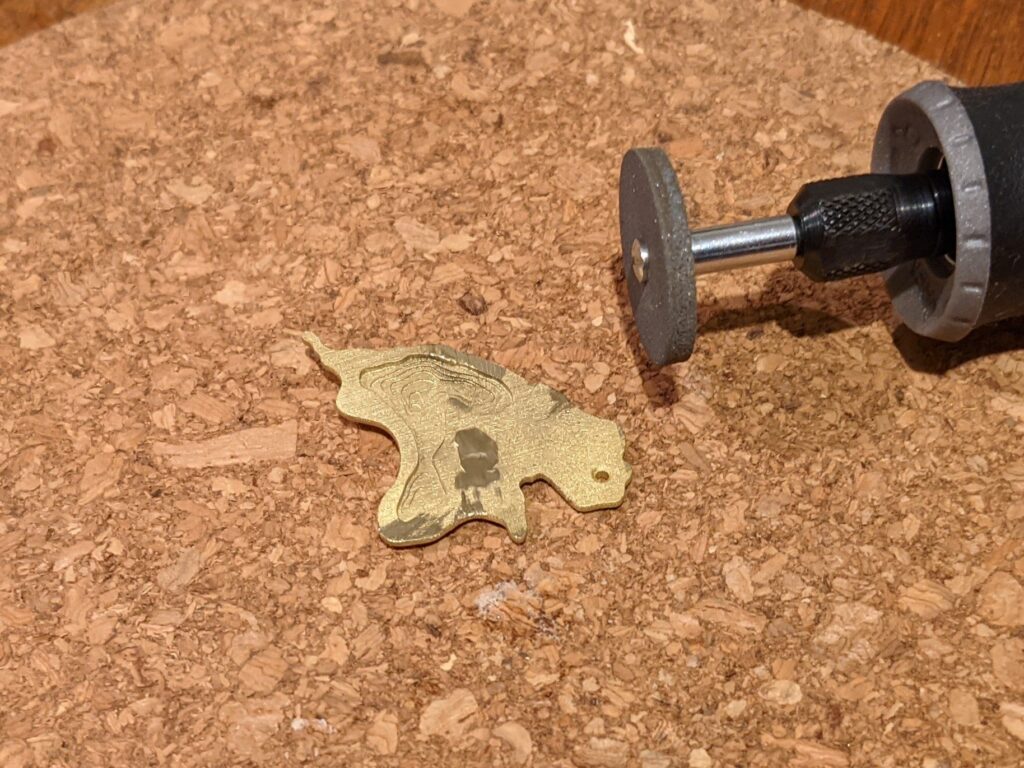
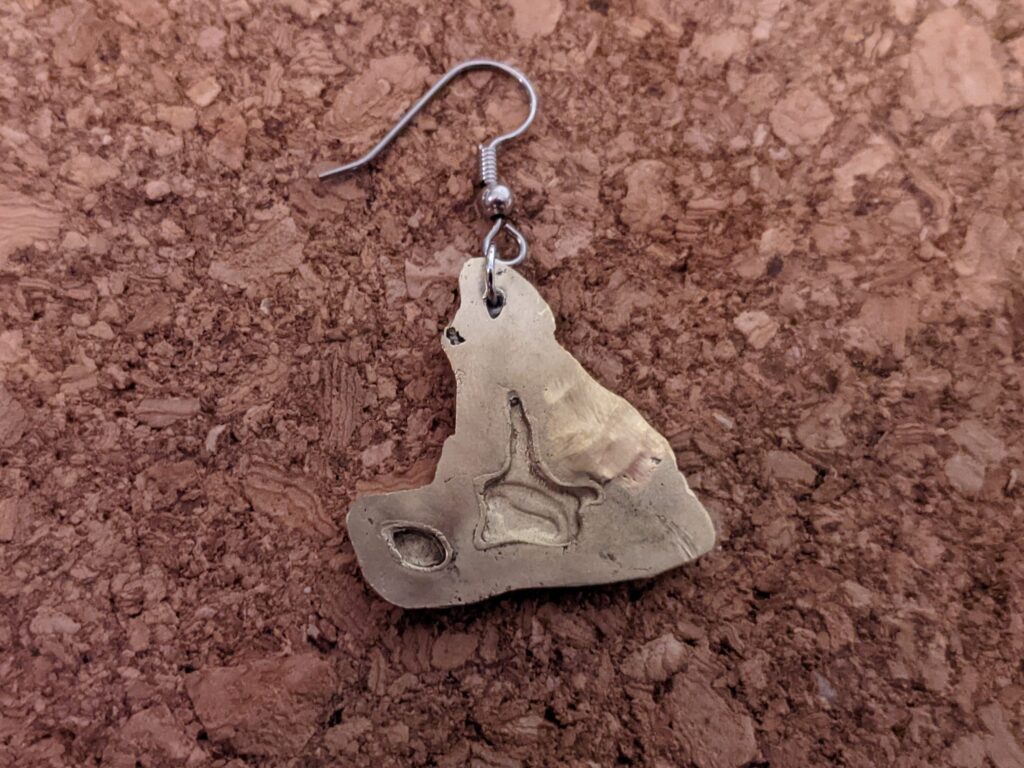
For step 1, I used the Dremel cutting wheel to take off the bulk of the sprue material, being careful to minimise scratching of the earring.
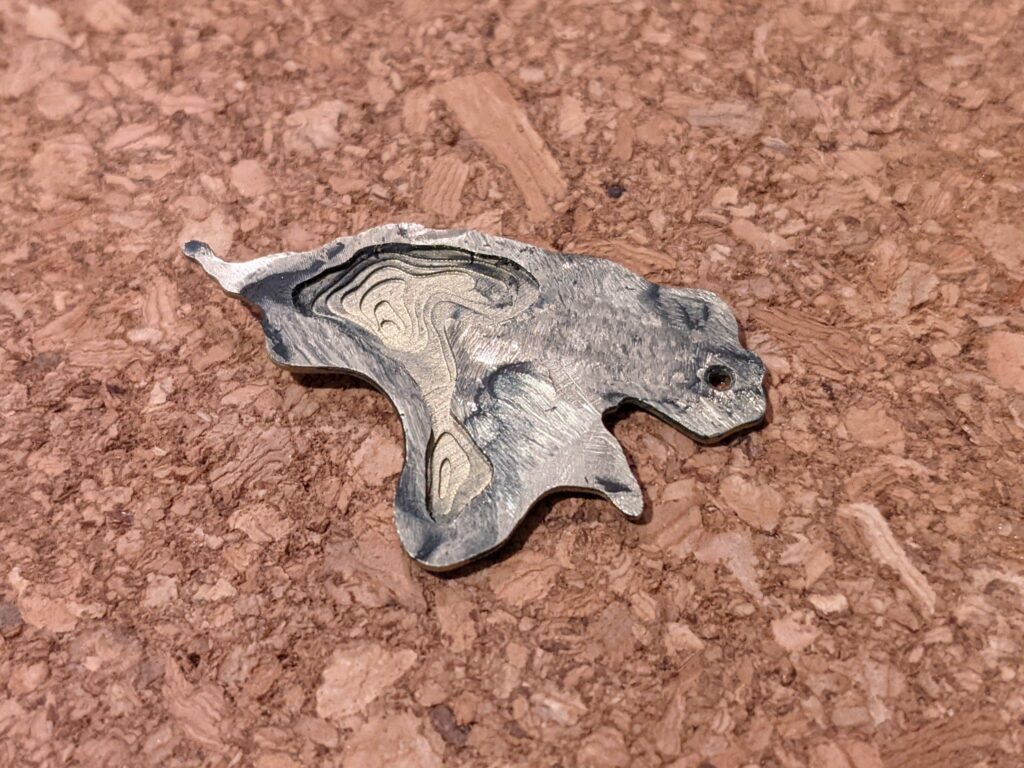
The picture bellow shows my first try. Bit of a rough job, I definitely got better as I went on!
Step 2: Grind Off the Remainder of the Sprue
With the bulk of the sprue removed I swapped to the grinding disk on the Dremel and took off the rest of the sprue material. I was surprised how neatly I could remove the remainder of the material and smooth out the area of the sprue.

Step 3: Sand the Back (optional?)
This step I played around with either doing or not.
Sanding the back gave a more uniform finish, but I went a bit hard with the sander so wasn’t able to polish out the deeper scratches I made. This is something I can work on, and with a bit more time and practice, sanding first may become my go to method.
That said, I really liked the finish achieved by going straight from grinding to polishing. It’s less uniform but I think leaves a lot of character. I’ll play with this method too.
Step 4: Polish
To wrap it up, I gave the back a good polish using the Dremel buffing tool. Initially I tried stepping through a full range of diamond polishing compounds, but with a bit of testing I couldn’t tell much of a difference between that, and just giving it a once over with a single compound.
In the future I’ll probably just use one polishing compound, unless I’m specifically looking for a mirror finish.

Closing Thoughts
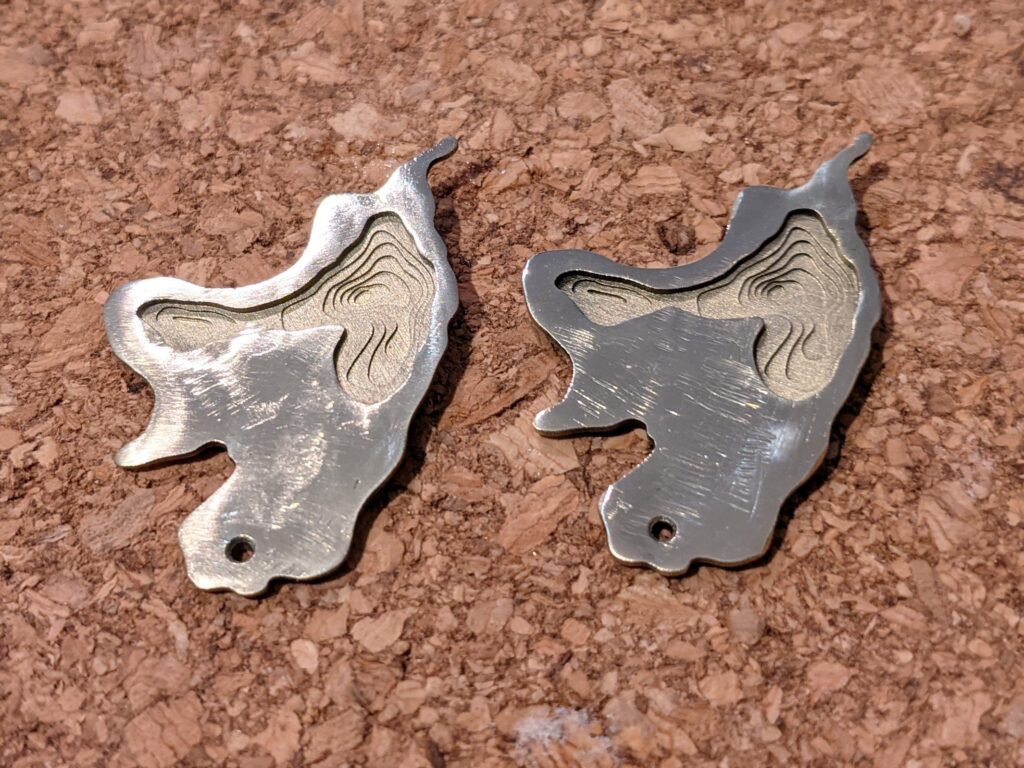
I’m really happy with how well these turned out and I can’t wait to have a go at more casting projects, I’ve already got a few projects in mind.
As always thanks for the read! If you have any comments of feedback I’d love to hear from you.