I love my computer keyboard. It’s a Realforce R2 with Topre switches and now, thanks to the teardown recorded in this post, it doesn’t have silencing rings.
I bought my keyboard mid-way through last year (2020) as an indulgent addition to my home office and it’s been a great desk mate since.
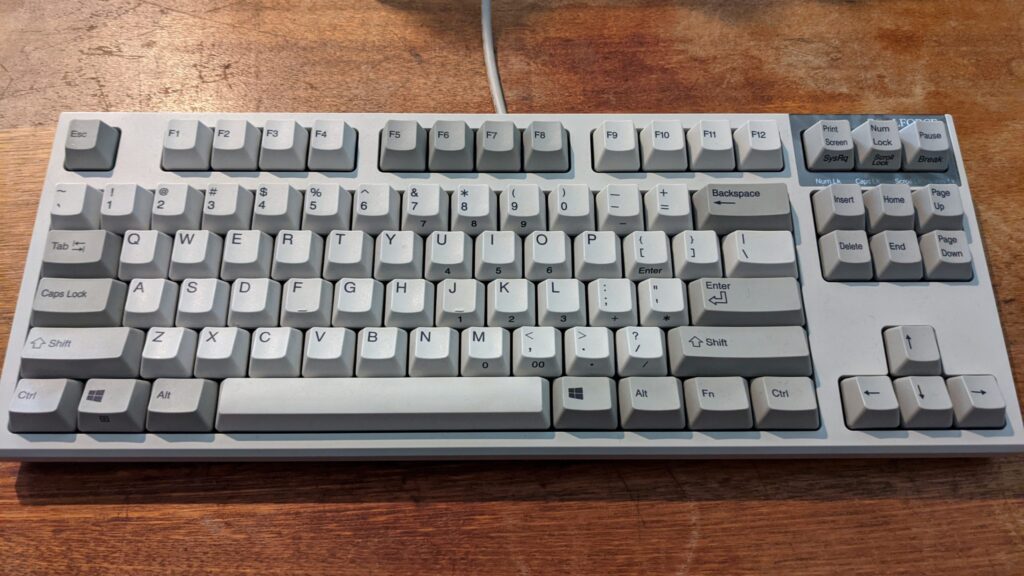
At some point, most things I own get pulled apart and put back together. In this post I wanted to share the teardown and rebuild of my keyboard and talk a bit about Topre switches and funky specialty keyboards.
What’s a Topre Keyboard?
Before I jump into the teardown, I wanted to explain what Topre keyboards are and why they’re the oddball darling of the enthusiast keyboard world. Topre keyboards use Topre switches. Switches are what sit under the keycap, they’re what you press down when you type. Topre switches are, unsurprisingly, made by the Topre Corporation of Japan.
The Topre Corporation have been making keyboards and keyboard switches since 1983 alongside air conditioners and a medley of other consumer electronics. I think think at some point in the last few years Tope was bought by Fujitsu, the IT and whitegoods company, but that’s not too important. What I wanted to do is help paint a picture of the Topre corporation as doing their own thing, not concerned with the wider keyboard industry.
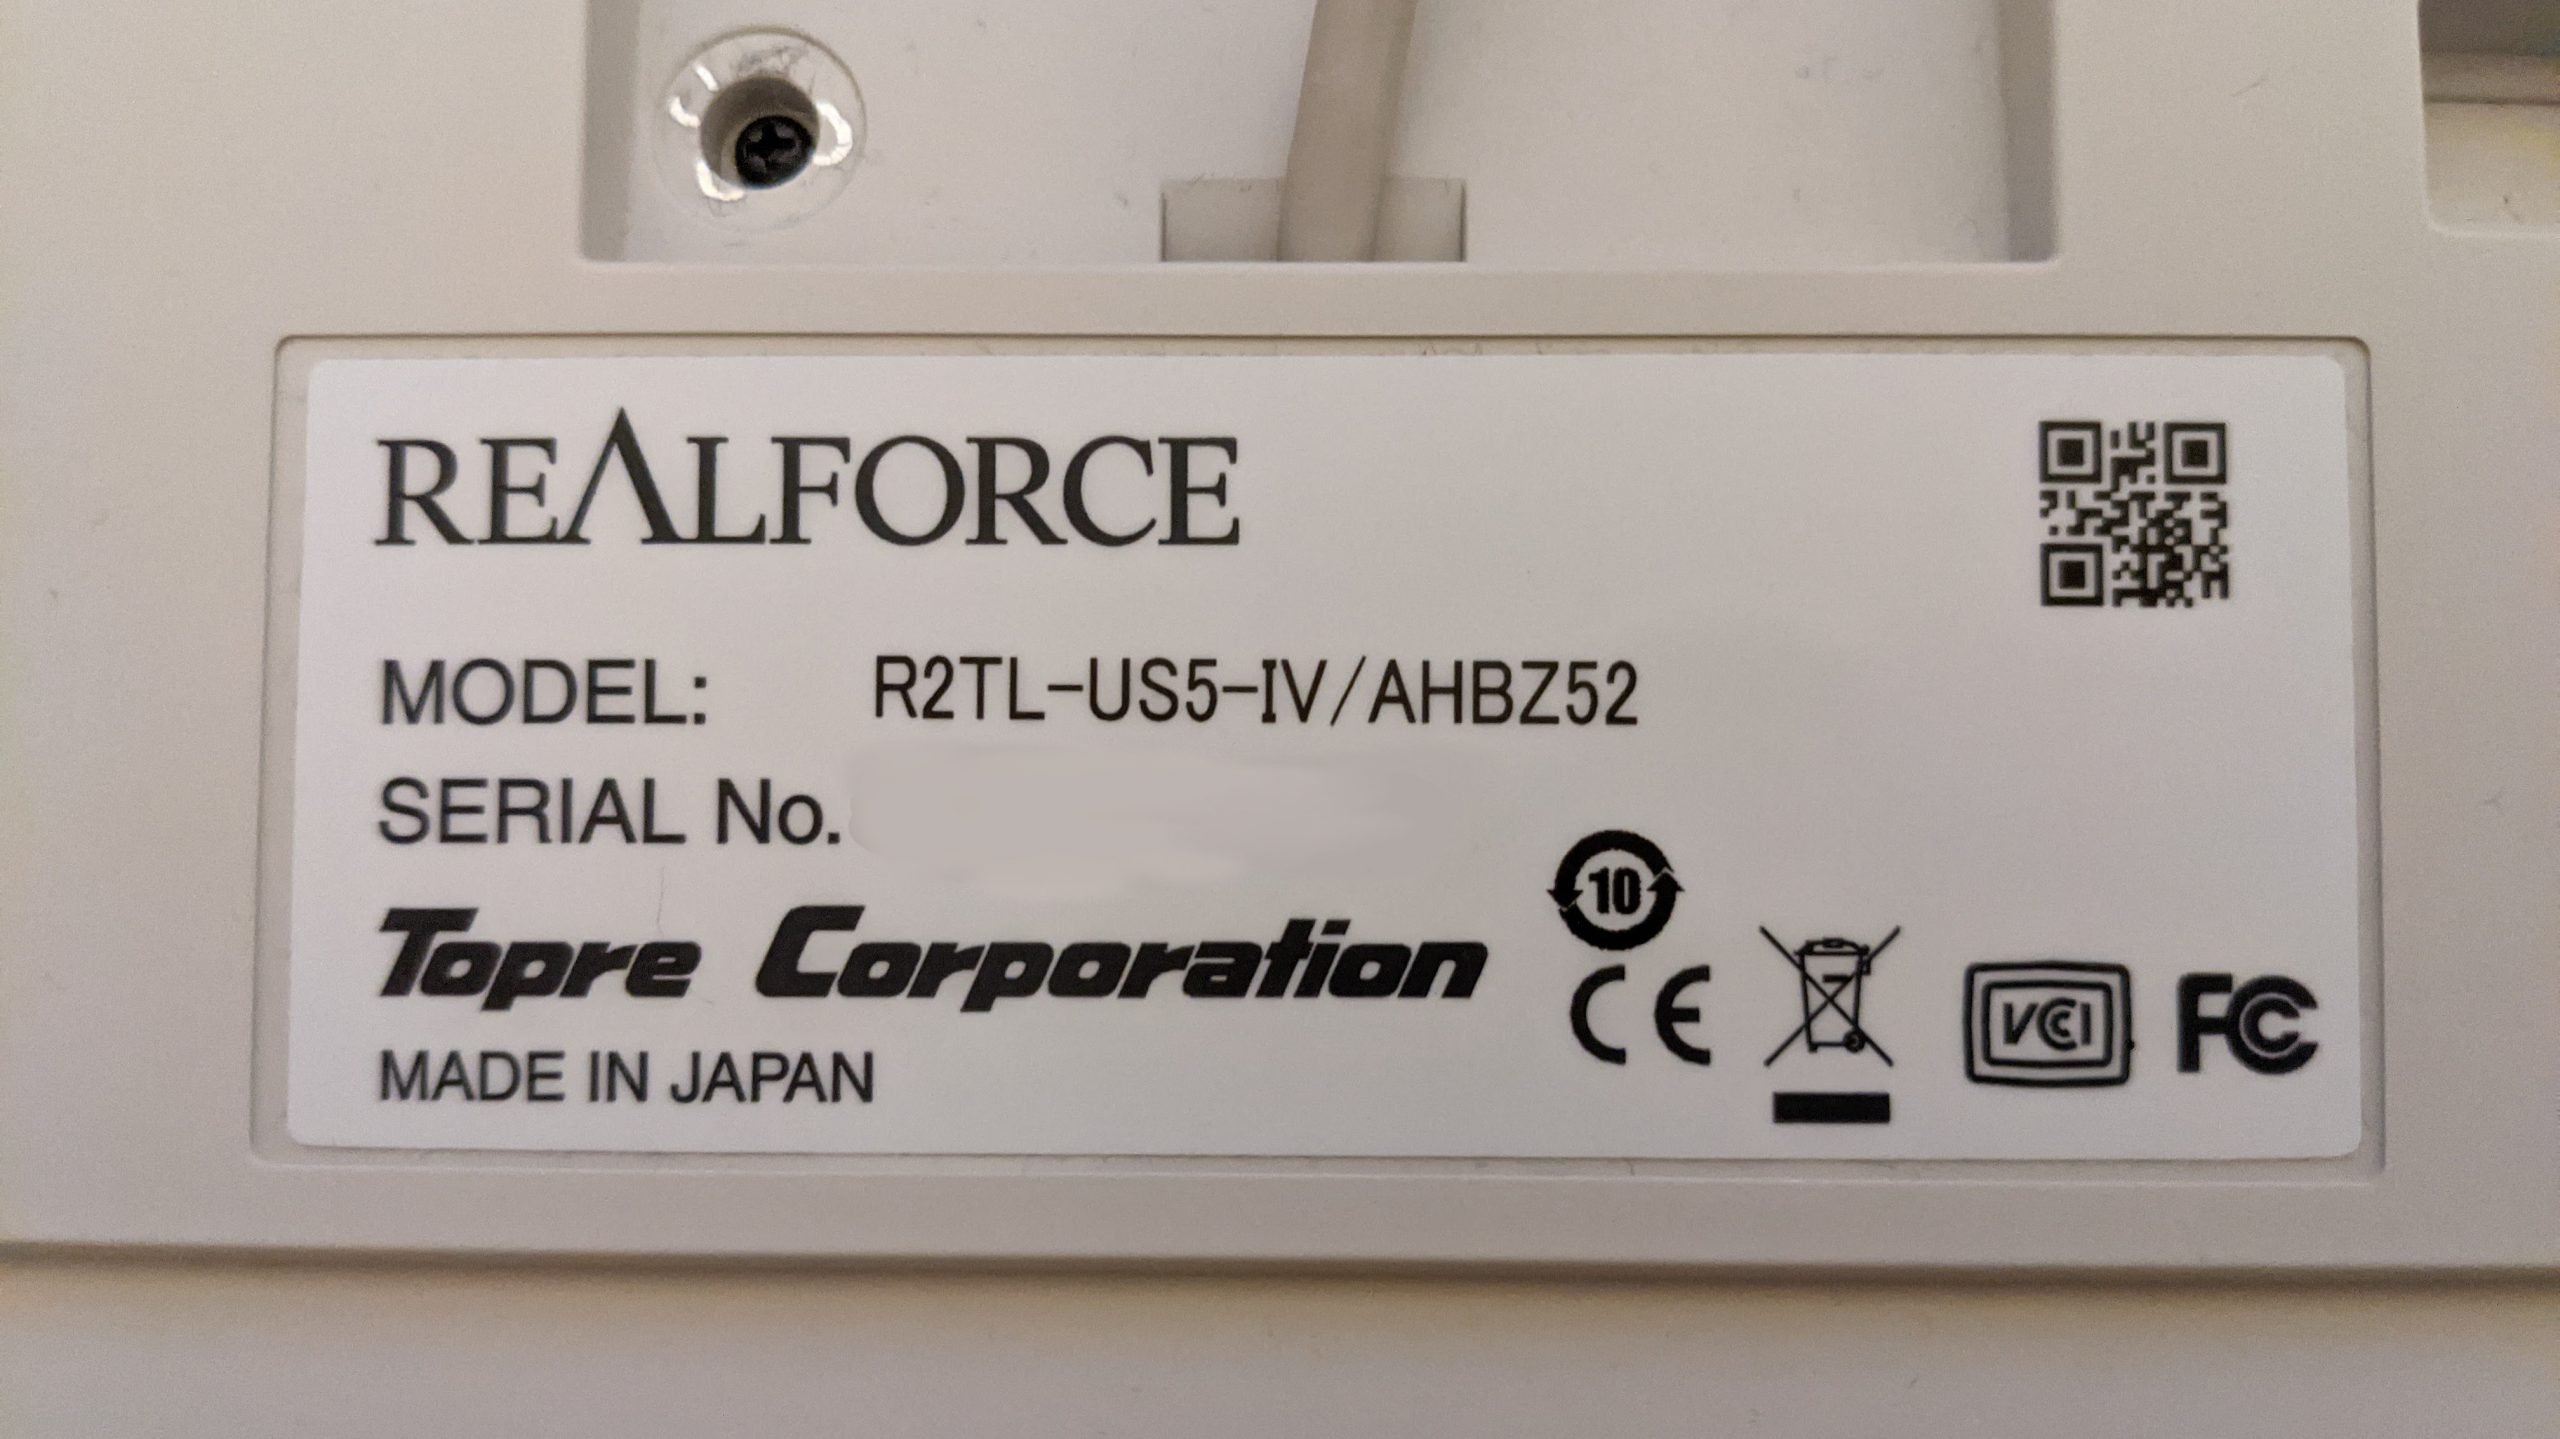
To help explain why Topre keyboards are weird, I’ll first give a broad stoke explanation of the two most common types of keyboards, membrane and mechanical keyboards.
Membrane Keyboards
Cheap office keyboards are usually what’s called membrane keyboards. Membrane keyboards work using a rubber ‘membrane’ laid on top of a circuit board. Pressing a key in turn presses down the membrane and which then activates a switch integrated in the circuit board. Membrane keys need to be pressed all the way down to activate, this is called ‘bottoming out’. This all up results in a squishy and jarring typing experience due to the combined membrane mechanism and forced bottoming out.
Mechanical Keyboards
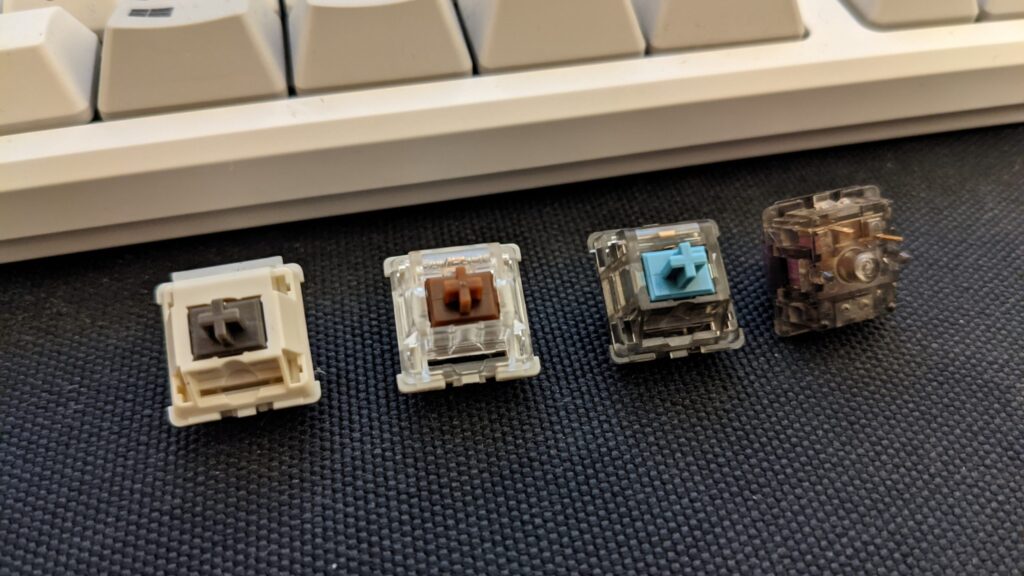
Most gaming and enthusiast keyboards are mechanical keyboards, meaning they use individual mechanical switches each separately attached (often soldered) to a circuit board. If you know of Cherry switches, they are the largest selling brand of mechanical switches. Most mechanical switches, even if they’re not made by Cherry, conform to the ‘Cherry MX’ form factor. Mechanical switches come in a wide range of types to suit personal preference and actuate mid press, meaning you don’t need to ‘bottom out’ when typing. This all adds up to an excellent typing experience with a lot of room for customisation to personal preference.
Topre Keyboards
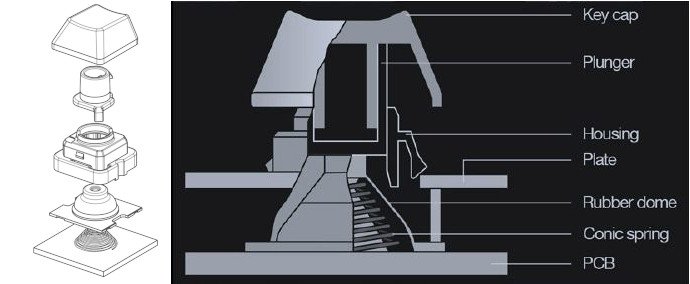
Topre keyboards, using Topre switches, work very differently to mechanical or membrane keyboards, they’re weird. Topre switches use a rubber dome, like a membrane keyboard, but inside the dome is a coiled wire touching contacts on a circuit board . When you press a key, you then compress the dome and the coil inside. This in turn causes a change in the coil’s electrical capacitance which is registered by the circuit board as a key press. By pairing this method with very high quality rubber domes, Topre switches type with a strong tactile bump, but also have a nice slightly cushioned ‘bottom out’. They actuate mid-press so don’t require ‘bottoming out’ like a membrane keyboard and are widely regarded as some of the best keyboards for pure typing, I can confirm.
The Rebuild: Removing Silencing Rings
About 6 months ago, I added silencing rings to the Topre switches of my Realforce Keyboard, to try and cancel out a slight audible twang I didn’t like when typing. Mission accomplished, but in the process I ruined the typing feel of the keyboard. This was because the silencing rings slightly reduced the travel distance of the key and ruined the tactile bump at the top of the keystroke.
The silencing rings had to go, to the Rebuild!
Step 1: Get the Keycaps off
First I needed to take off the keycaps. This is done using a typical wire keycap puller.
The only trick to Tope keycaps is the puller needs to be oriented to 4 o’clock and 10 o’clock to avoid catching a latch on the switch housing. A bit of force is needed to get the cap off. If you’re doing this yourself, make sure you apply force smoothly and evenly.
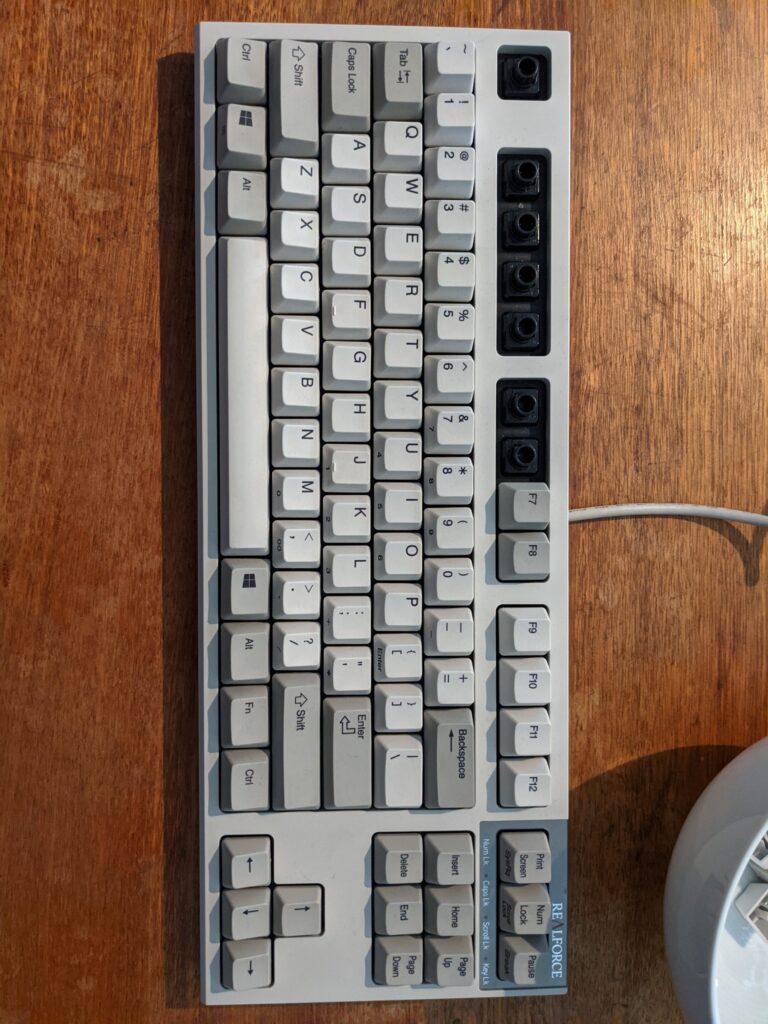

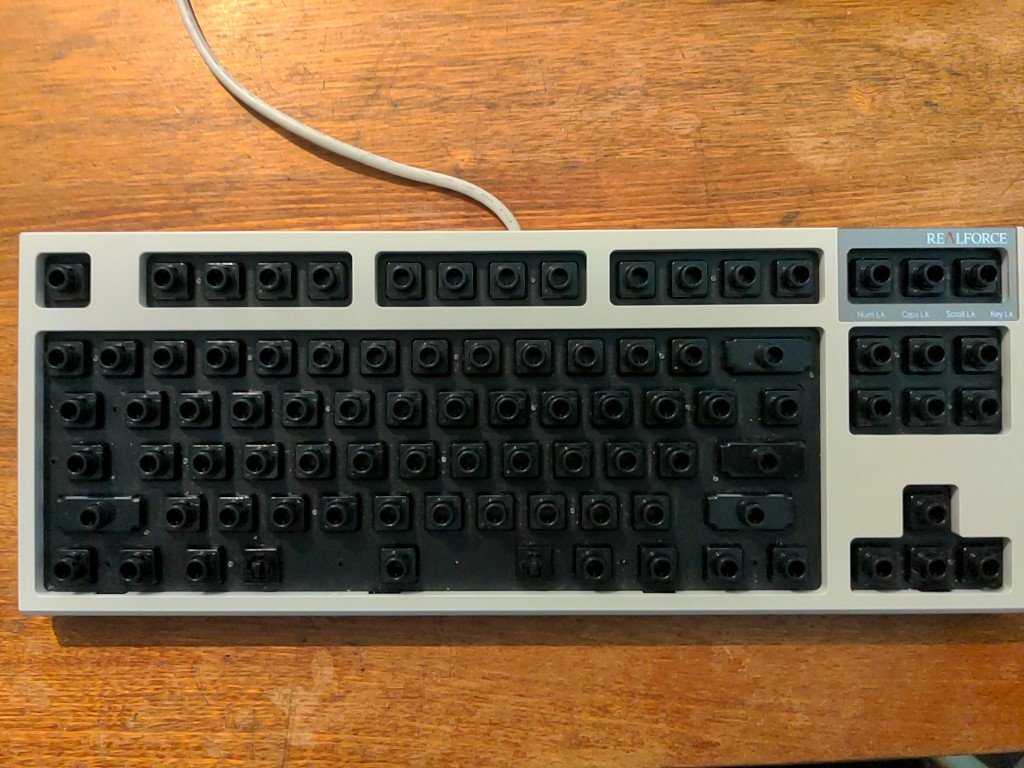
Step 2: Get the Case Off
It’s such a relief to have electronics which can be easily taken apart!
I get the top of the case off by undoing just one screw on the back and then prying off a few heavy duty latches on the front and back with a sludger tool.

The circuit board (PCB) and plate can then be lifted out from the bottom casing and the USB cable unplugged from the PCB.
Step 3: Separate the Mounting Plate and PCB
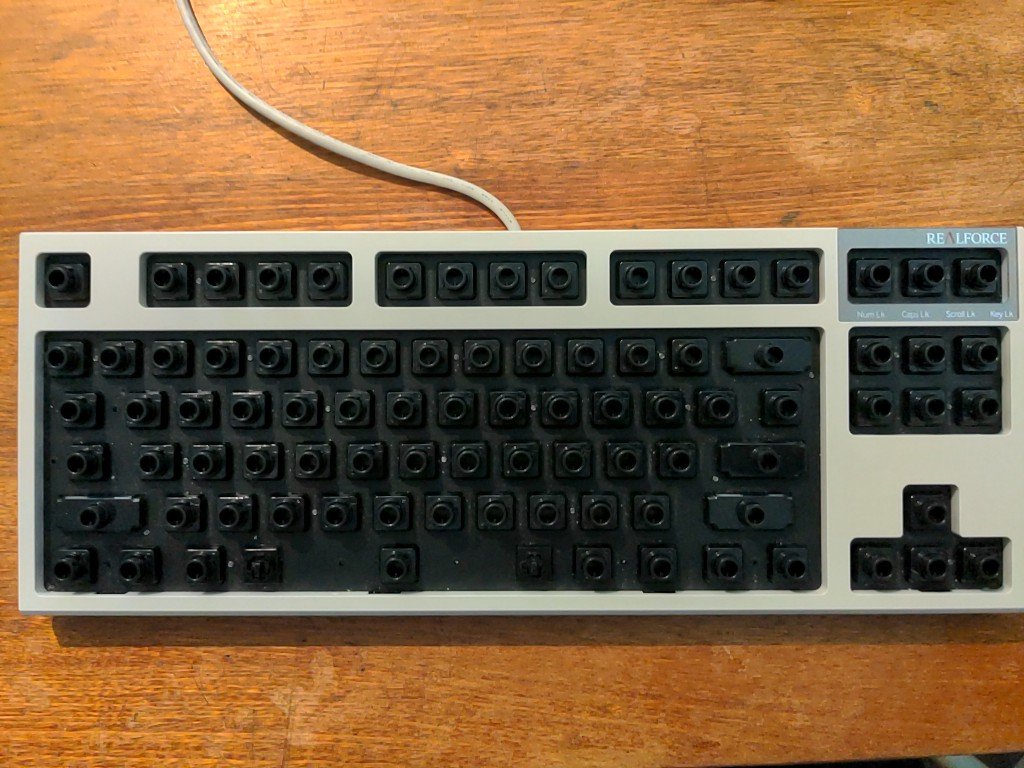
The PCB and mounting plate are held together by no less then 3 dozen screws. With those removed, I separate the PCB and mounting plate.
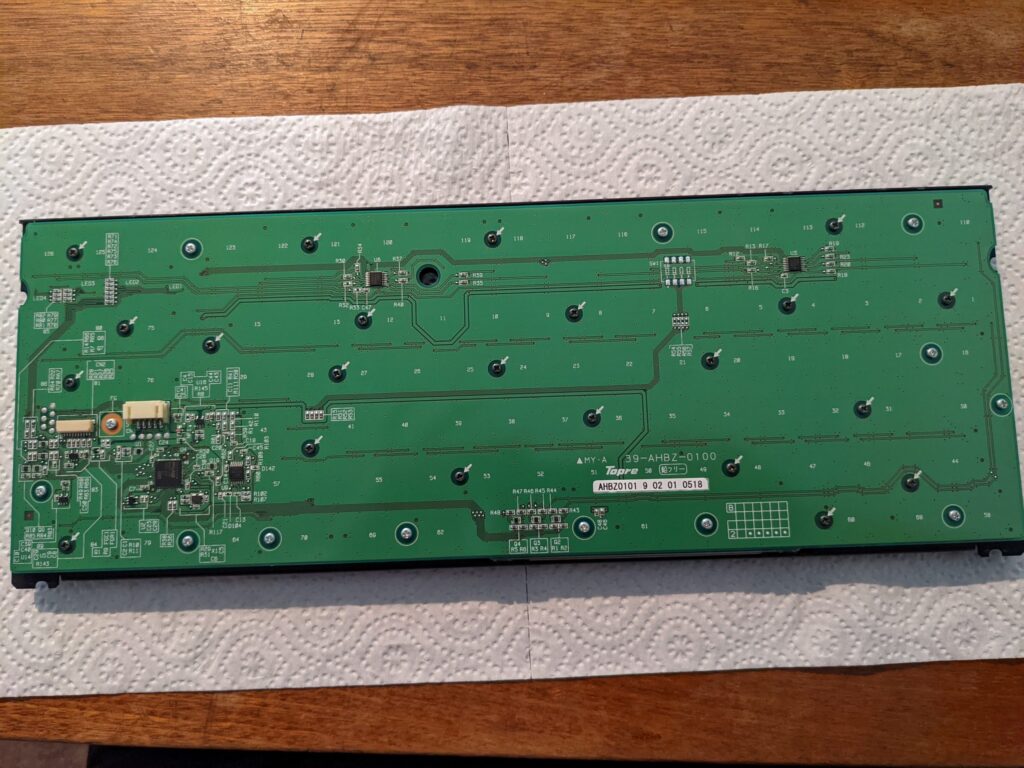
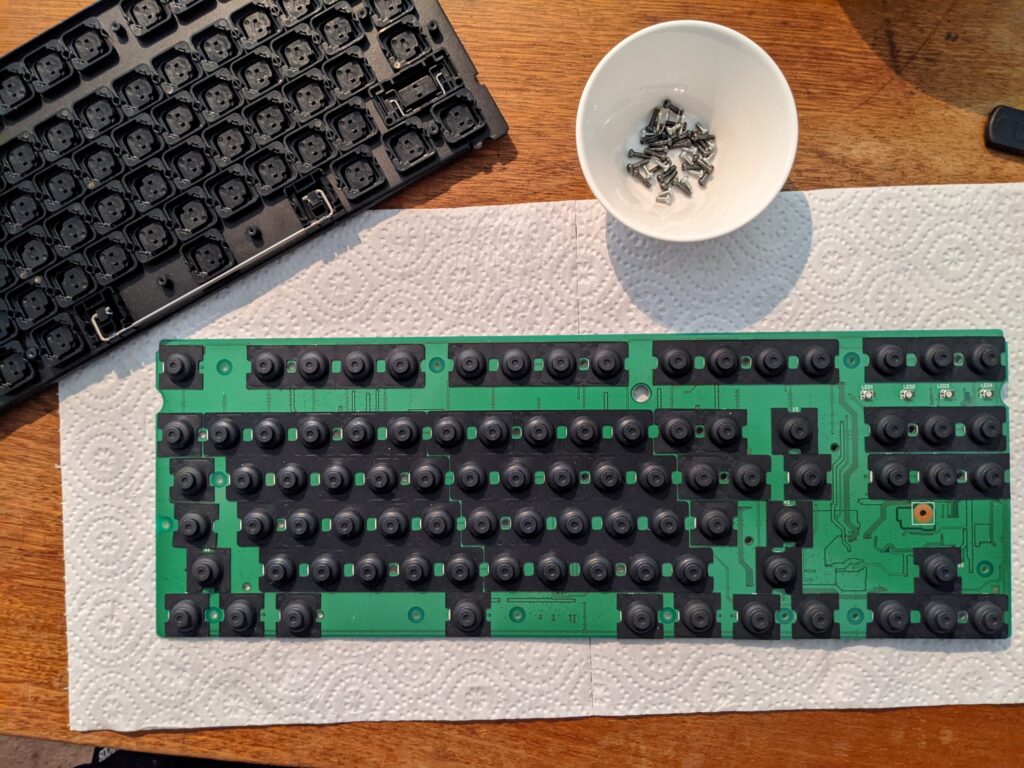
Step 4: Pop Out the Switch Sliders, Remove the Silencing Rings
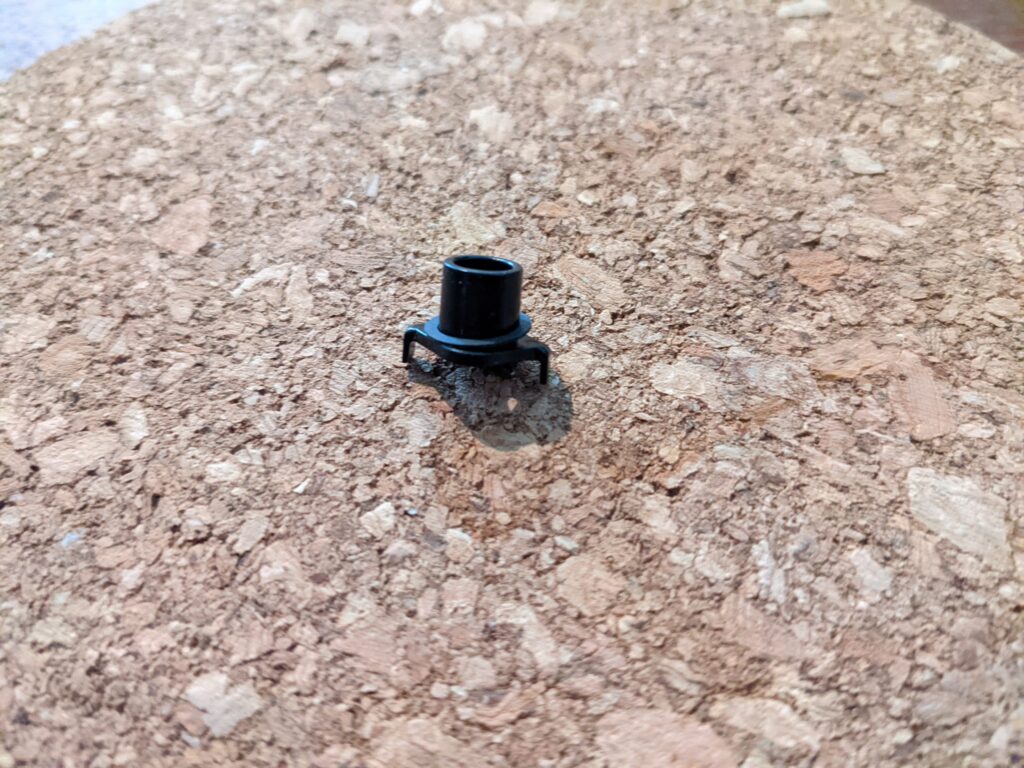
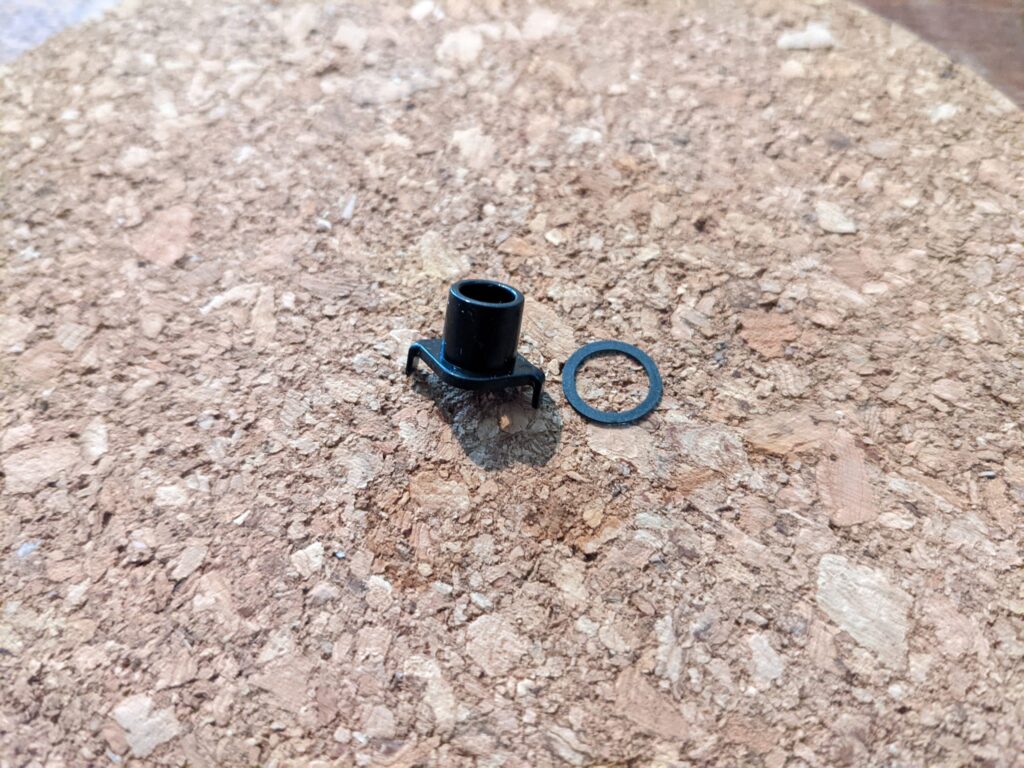
The purpose of this rebuild was to ‘uninstall’ the silencing rings from my keyboard. These rings are installed on the sliders, which are held in the switch housing, one pair for each key.
I’ve seen a few different techniques for removing the sliders, I had a lot of luck popping them out with my finger while depressing the retaining latch with a small screwdriver.

Step 5: Put it Back Together
Easily done, to get it back together I repeat steps 1 to 5. Finally check I didn’t break it keyboardchecker.com.
Good to go!
Closing Thoughts
I’m really excited to get this post out and start sharing my other hobbies on my blog. I think next up could be a post taking apart one of my drones.
Thanks for reading and as always, I’d love to hear from you!