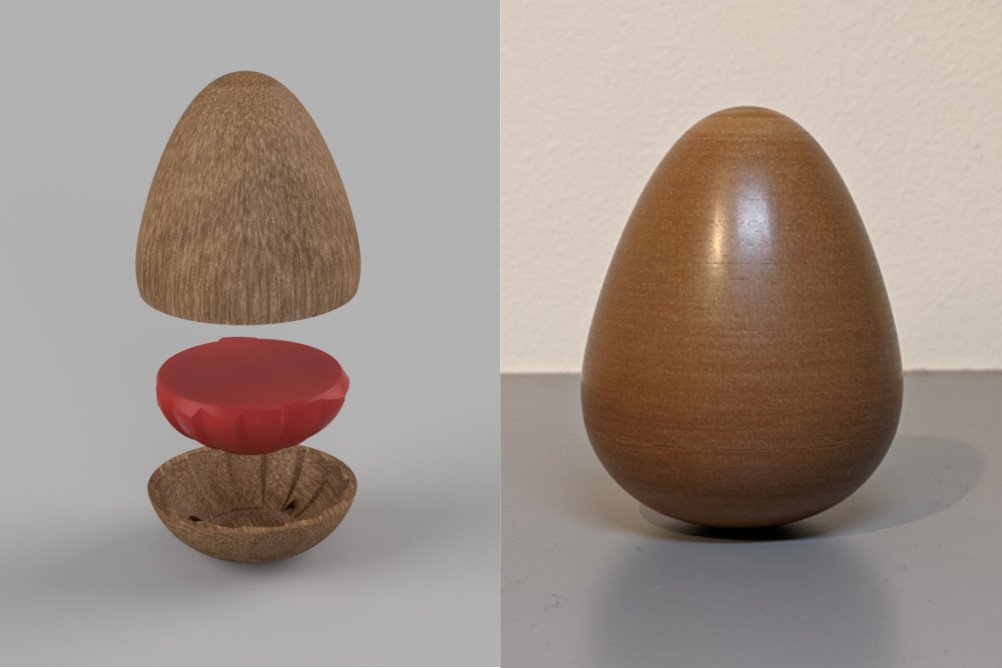
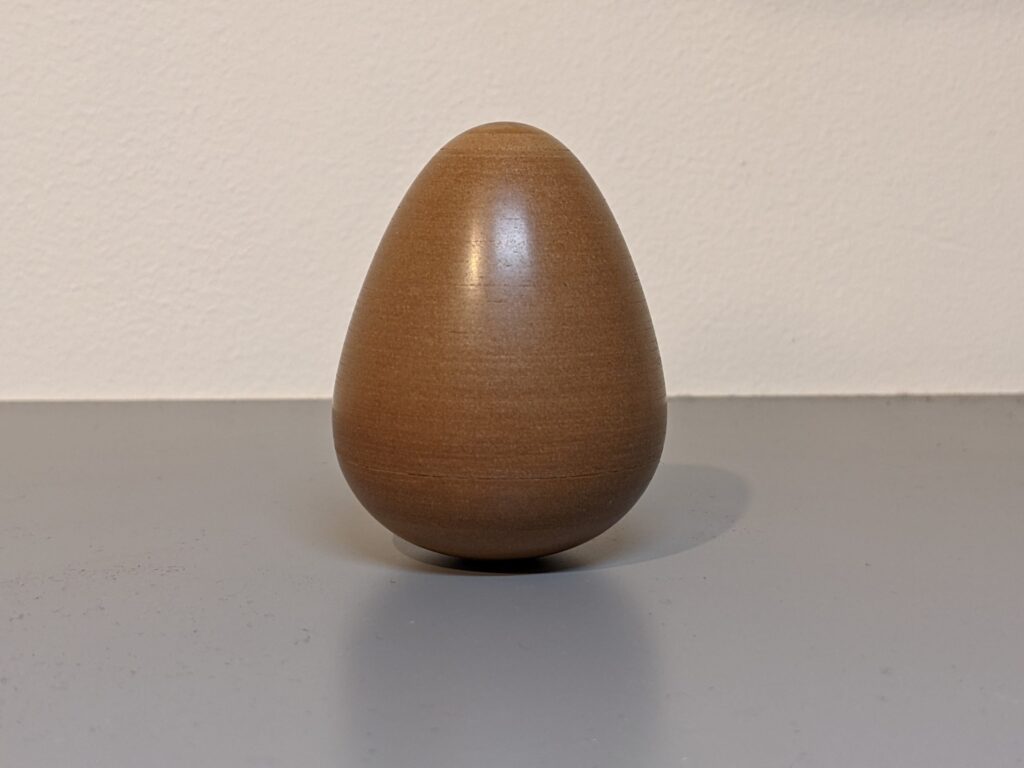
I’m excited to try something new this post! I’ll be showcasing some of my favourite design features from my latest 3D printing project, the Wobble Egg Desk Toy.

This is actually the third iteration of a long running project to create my own version of a Roly Poly Toy.
Feature 1: Three Piece Construction
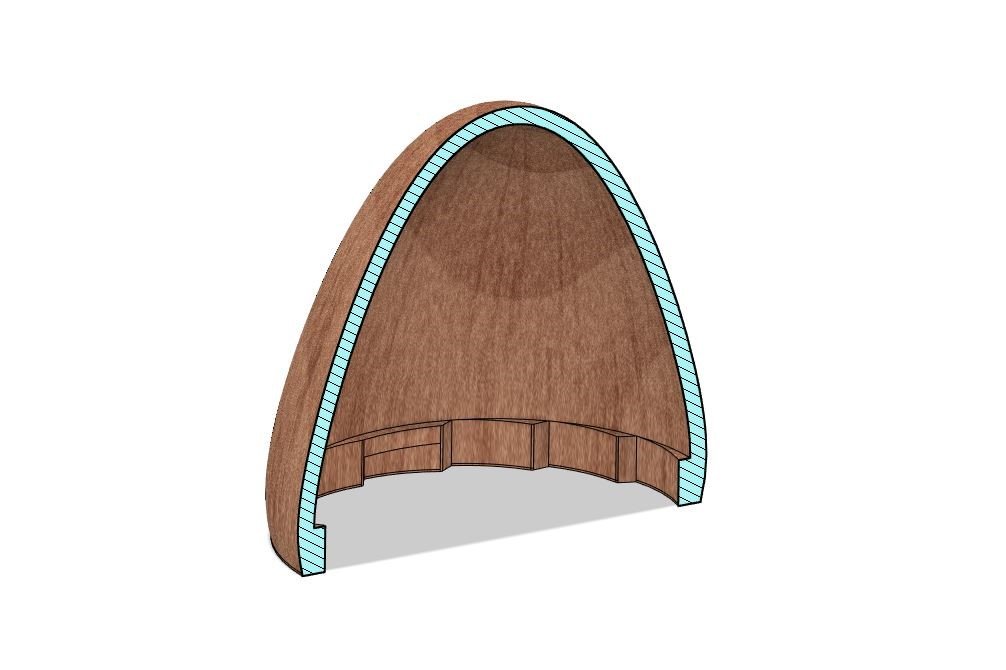
For this iteration of the Wobble Egg, I settled on a three-piece construction with a top and bottom shell made from Wood Fill PLA filament, and the dense core made from regular PLA.
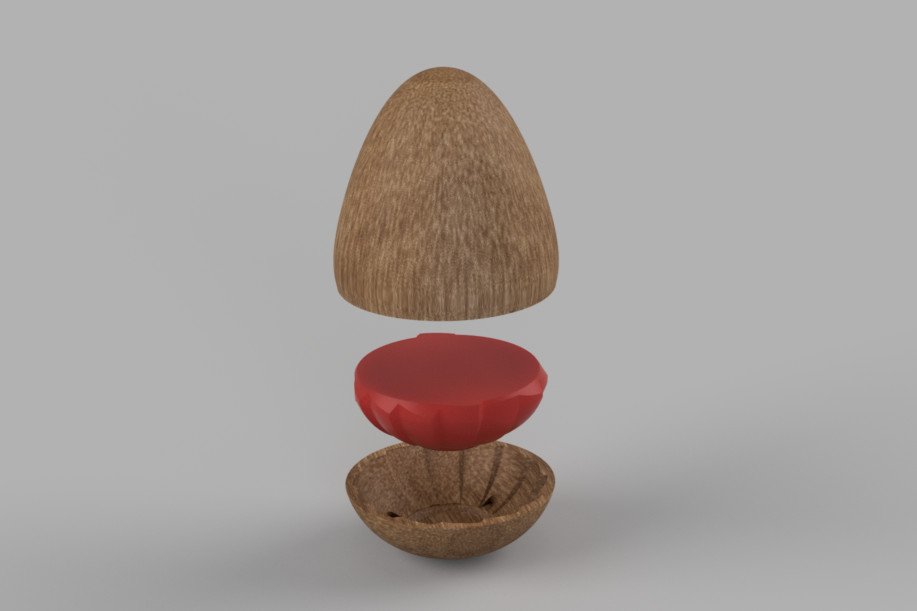
My reasons for choosing a three-piece construction were twofold:
Three Piece Construction: Printability and Cost
In order for the Wobble Egg to.. wobble, the half bellow the inflection point of the egg needs to be printed with 100% infill density maximally lowering the centre of gravity.
Wood fill PLA, as well as being more expensive than typical PLA, hates being printed at 100% infill. In my experience, when printing it at 100% infill it will regularly clog as well as coat the nozzle in melted filament and wood fibre that then needs to be cleaned.
By creating a separate dense core, I cut down on costs and improve reliability of the print.
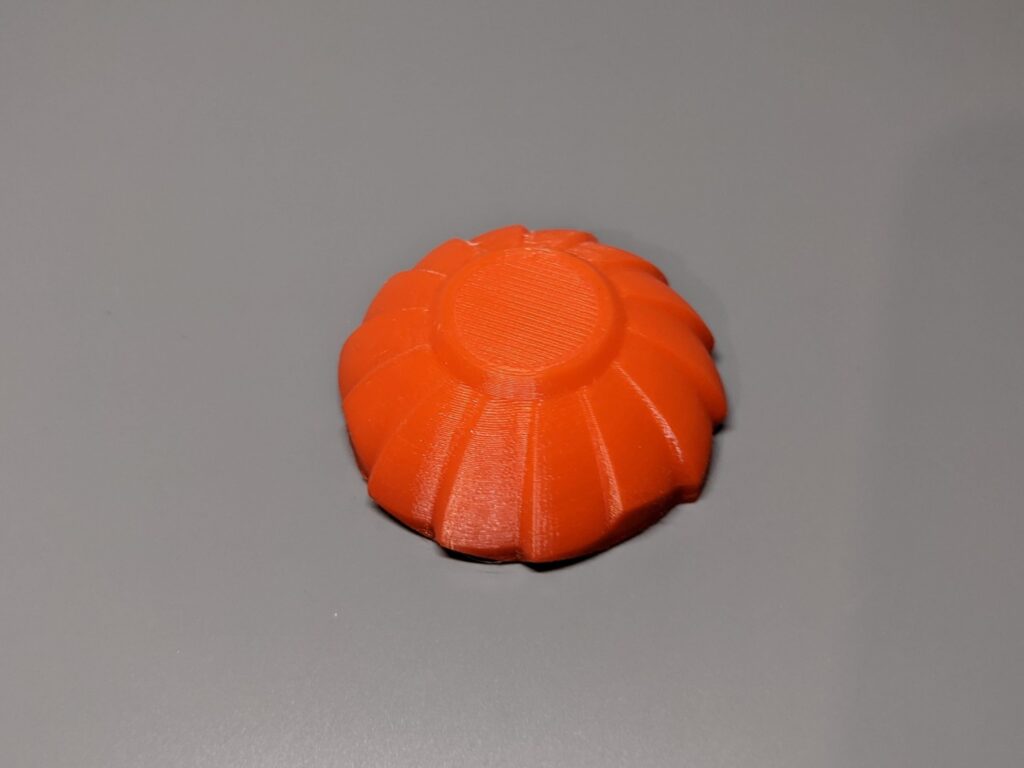
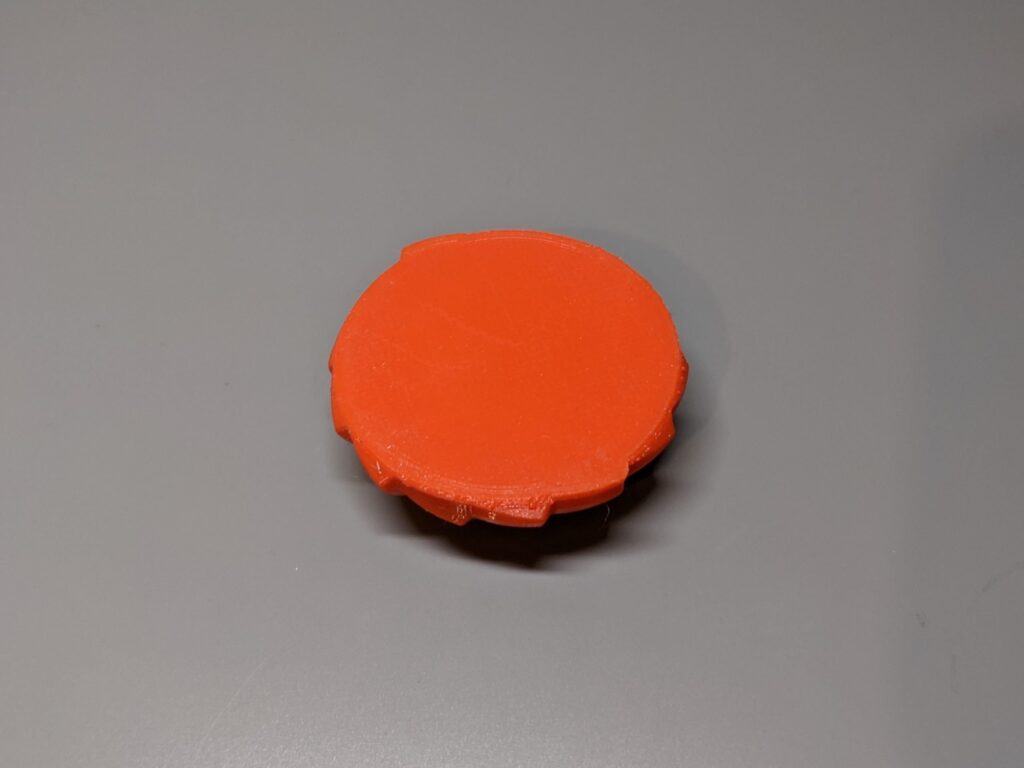
Three Piece Construction: Connecting the Top and Bottom Shell
As well as reducing cost and increasing reliability, by separating the dense core from the top and bottom shell pieces, I can use it to connect the two hemispheres. Glue is used to hold it all together.
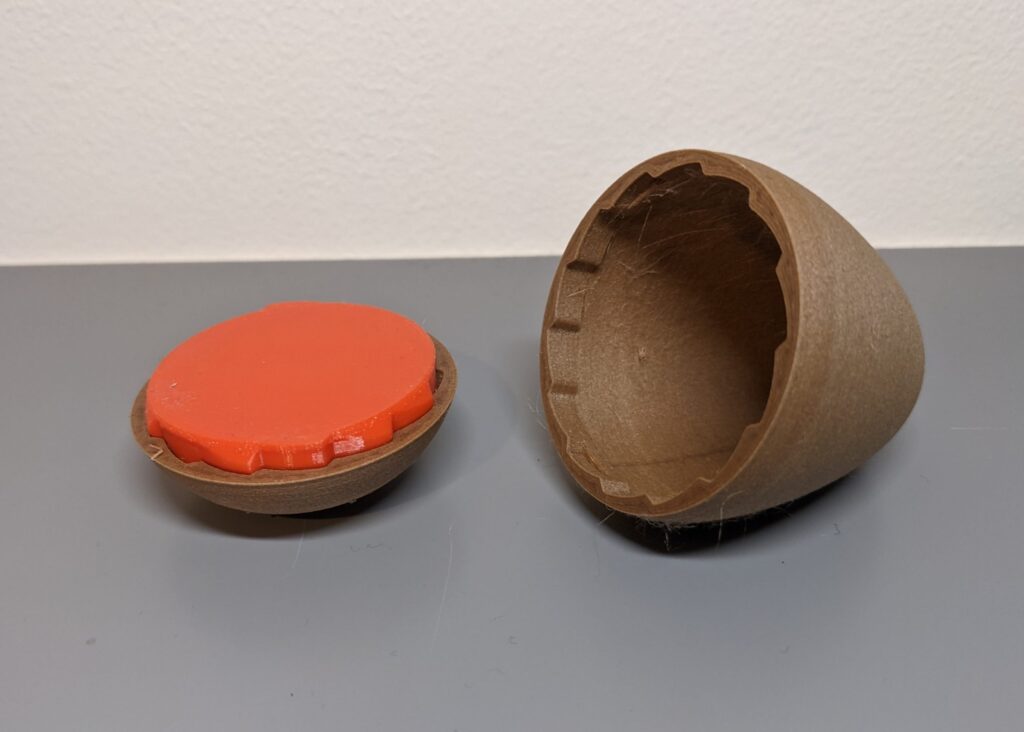
Feature 2: Spiral Interface
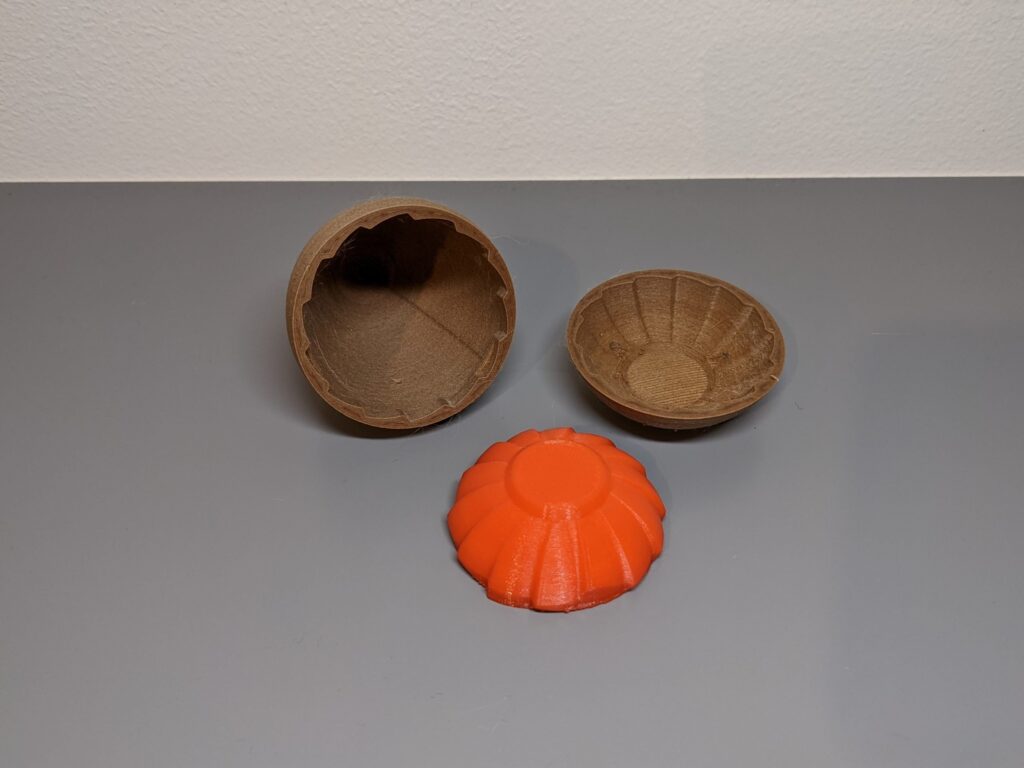
When using Wood Filament, the organic component of the wood fibres create an unusually high level of variation print to print. Because of this, if the bottom shell and dense core interfaced as a simple cup, it would be difficult to dial in the initial tolerance, and the variance might result in a high number of failed prints.
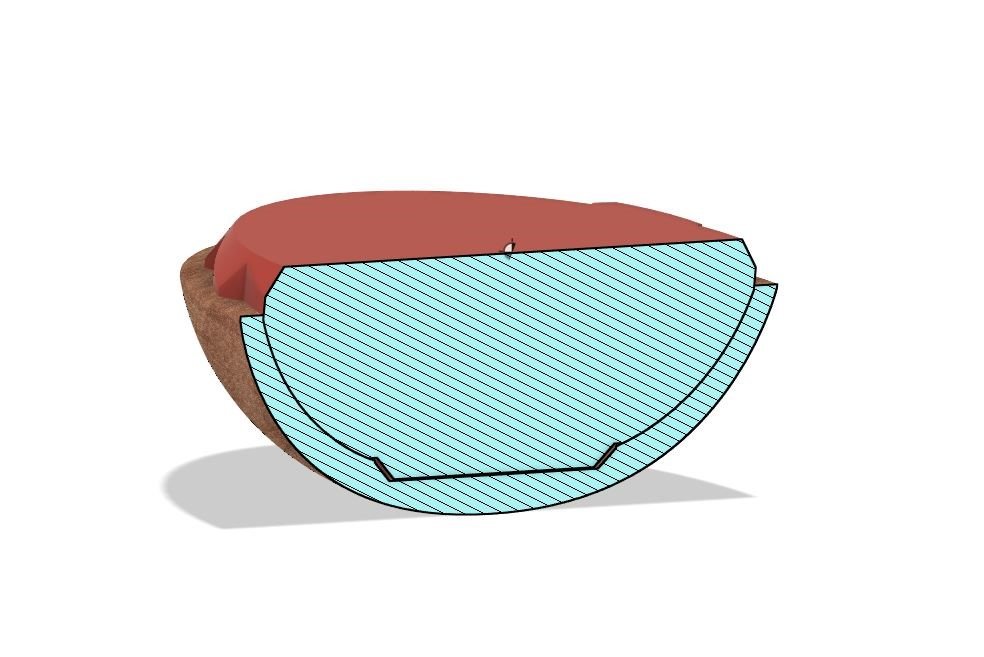
As a solution, I integrated a spiral design to the interface between the pieces. This design steepens the interface between the pieces reducing the required tolerance. The spiral pattern also helps align the pieces during assembly as an excellent bonus.
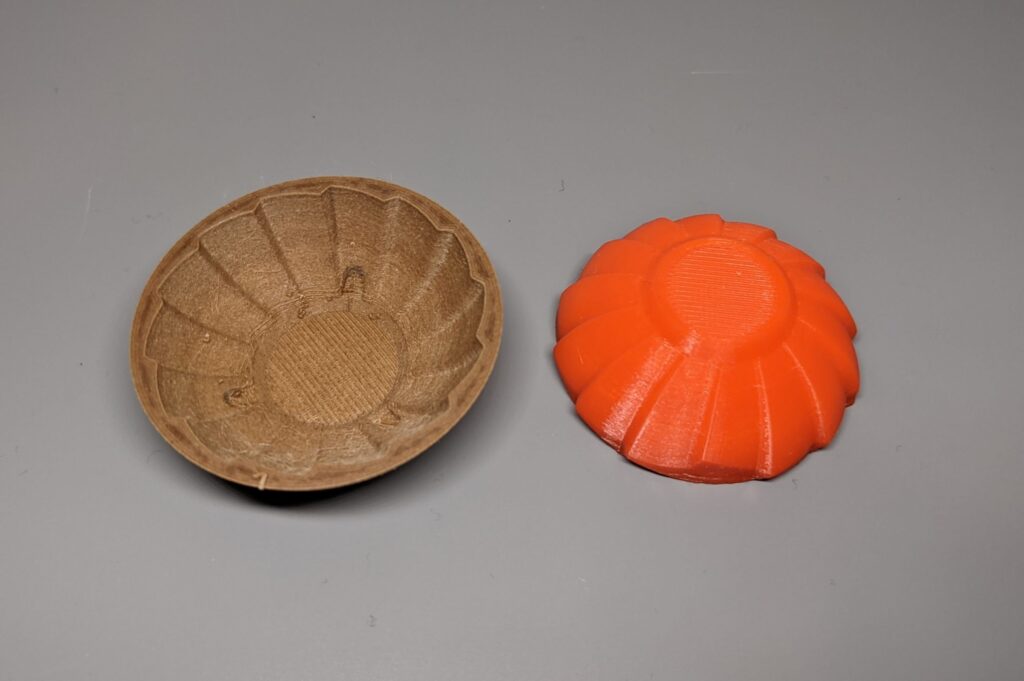
Despite calling it a spiral pattern, the leaves of the pattern don’t rotate but point straight up and down. The reason for this is if they did rotate, then the straight interfacing grooves on the top shell wouldn’t align in the case of misalignment, where the core sits higher then designed.
For anyone curious about how I handled the tolerances of the chamfered bottom part, you can get a rough idea from the cross-section bellow.
Feature 3: Sanding
I’ve been experimenting with sanding 3D prints for quite a while, and by far wood filament has produced the best results.
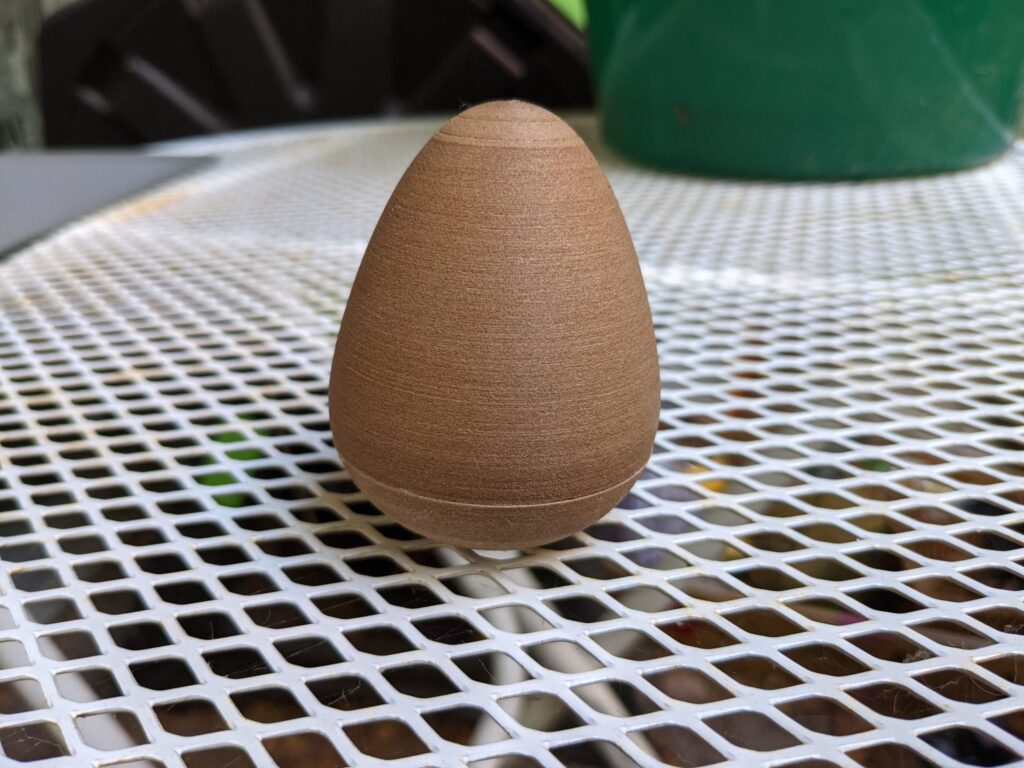
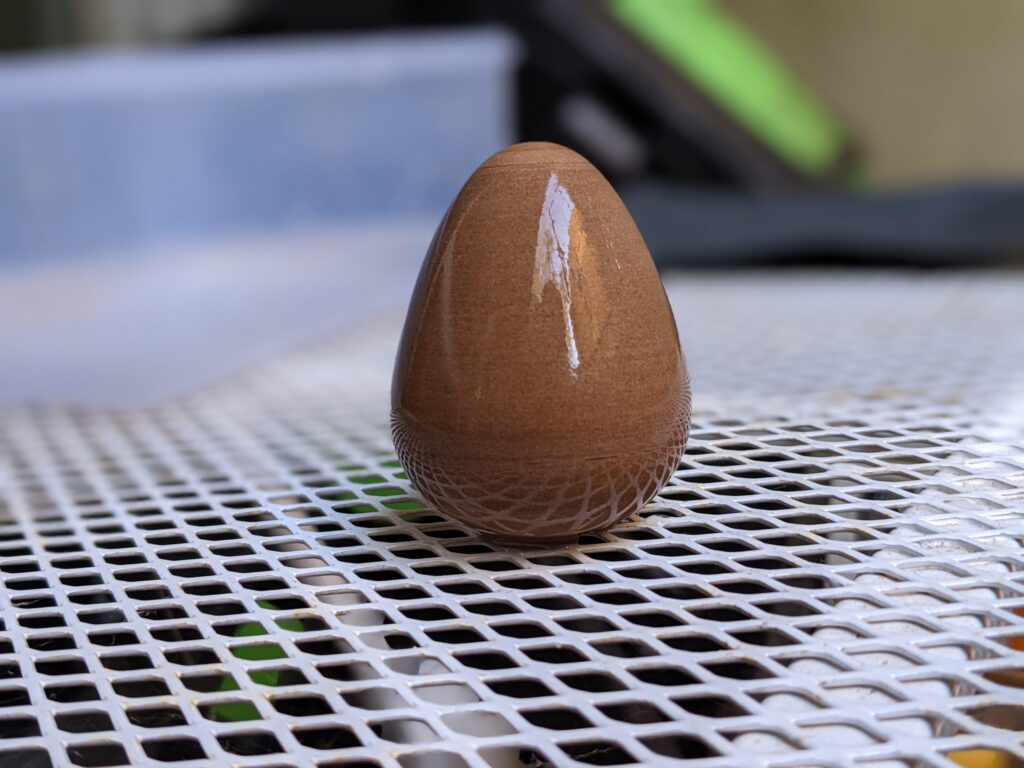
Sanding prints needs a post all to itself, but in broad strokes, for this project I wet sanded the with #240, #600 and #3000 wet/dry sandpaper an then finished it with a light coat of mineral oil.
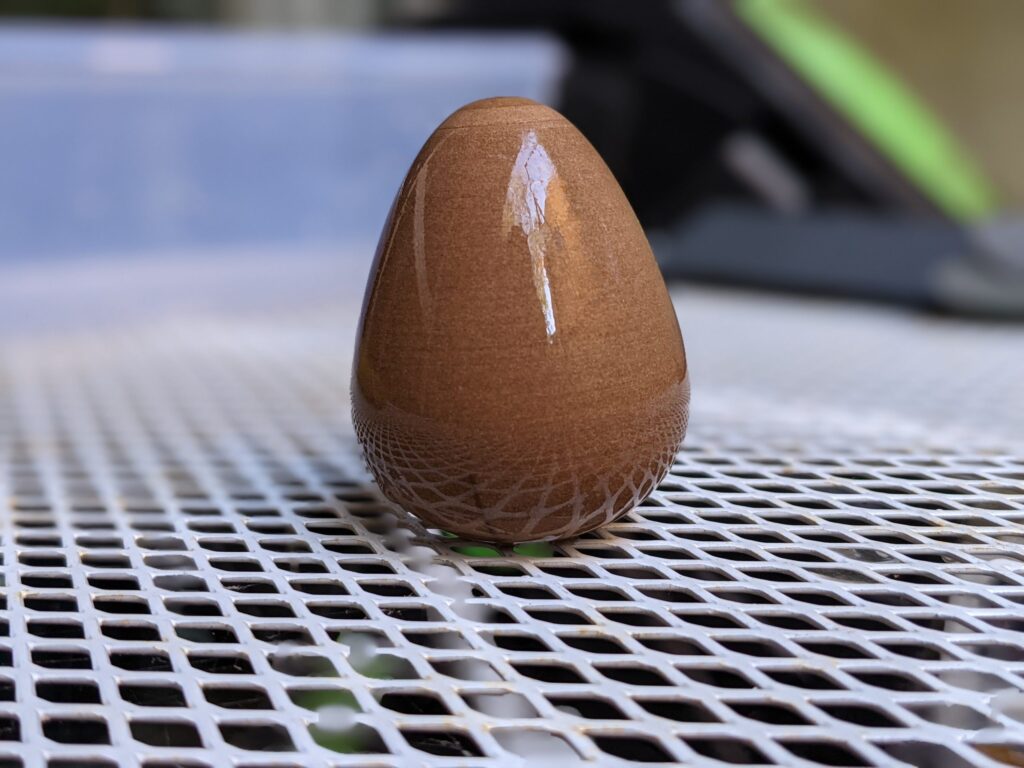
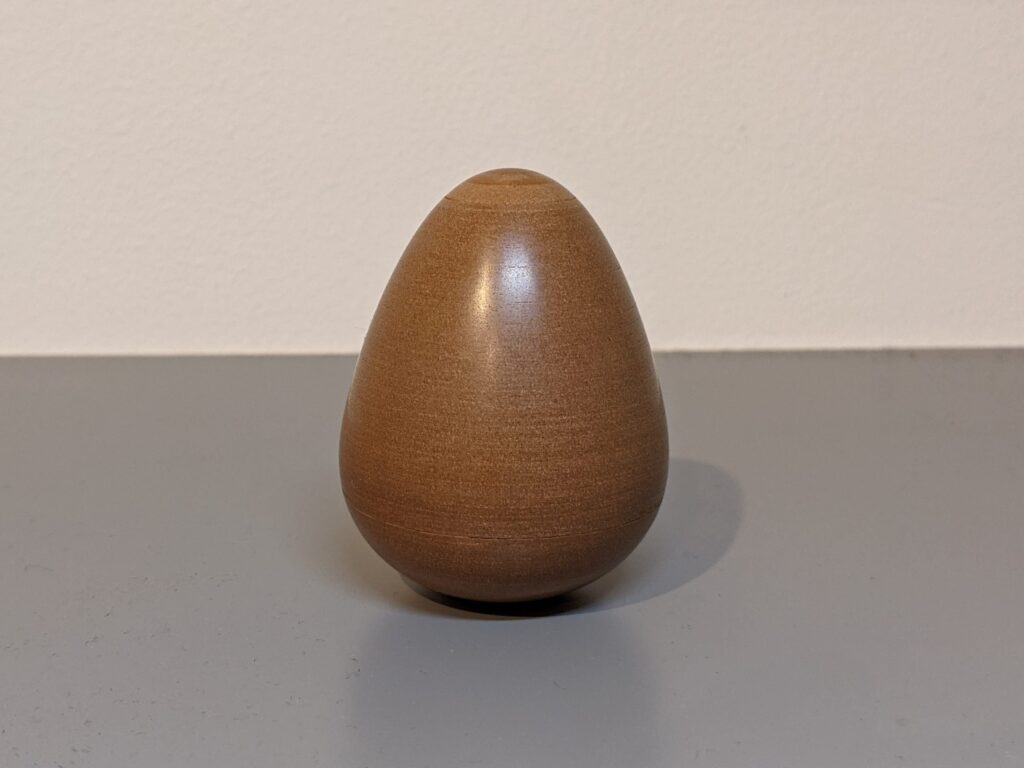
Here are some progress photos of the sanding process.
Feature 4: Profiling Jigs
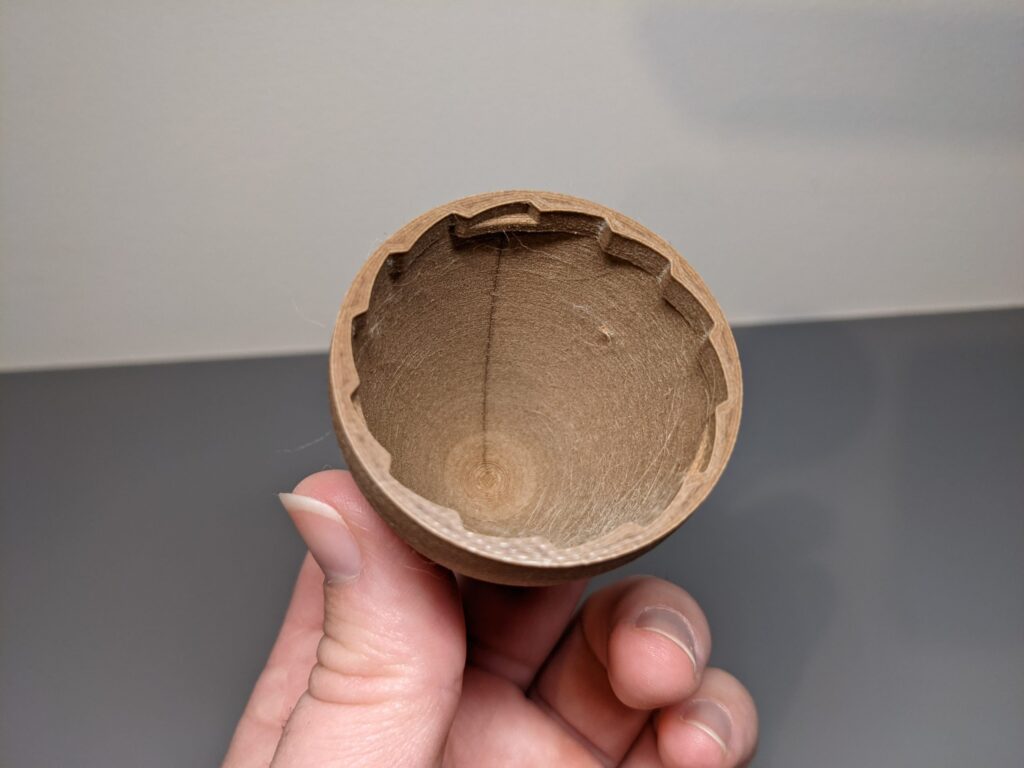
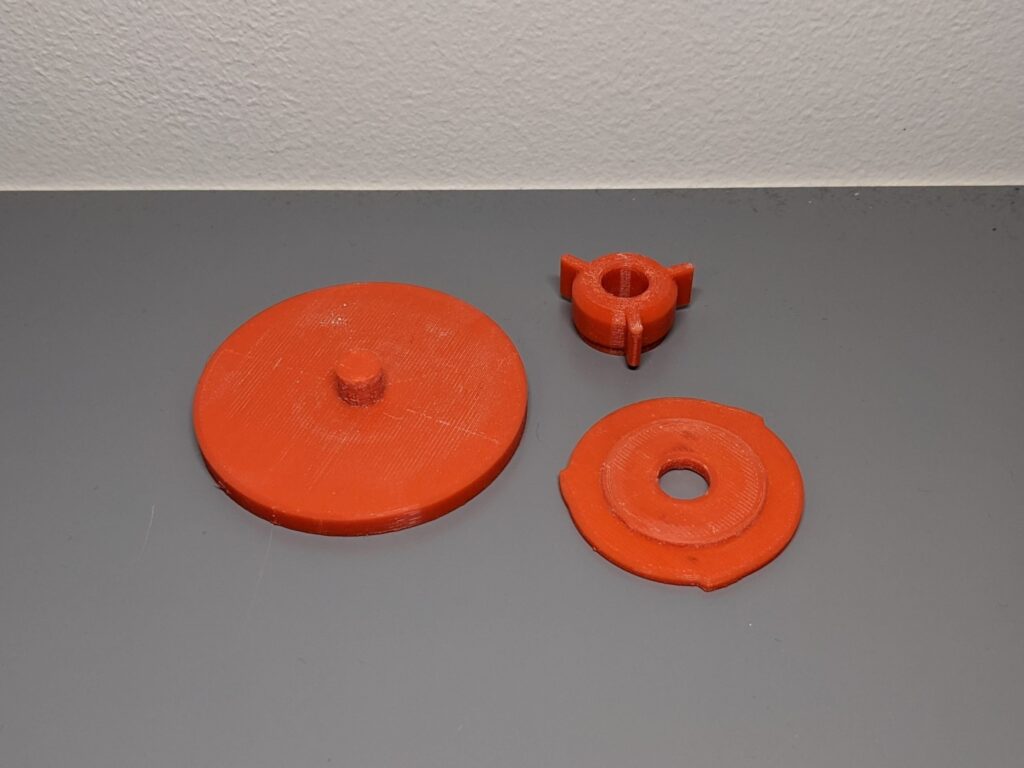
In earlier iterations of the Wobble Egg, I encountered a reoccurring problem where the two shell hemispheres wouldn’t align leaving a gap between them. The cause of this, I realised, was the slight not-perpendicular misalignment between the gantry and build plate, inherent to FDM printers.
For this design, I experimented with a new solution making a set of profiling jigs which use an internal surface of the print to reprofile the shell mating surfaces. With just a bit of initial testing I think this idea shows real promise.
I’m planning to continue working on this technique and dedicate a post to it in the future, so I’ll save going into more detail now.

Feature 5: Egg Maths
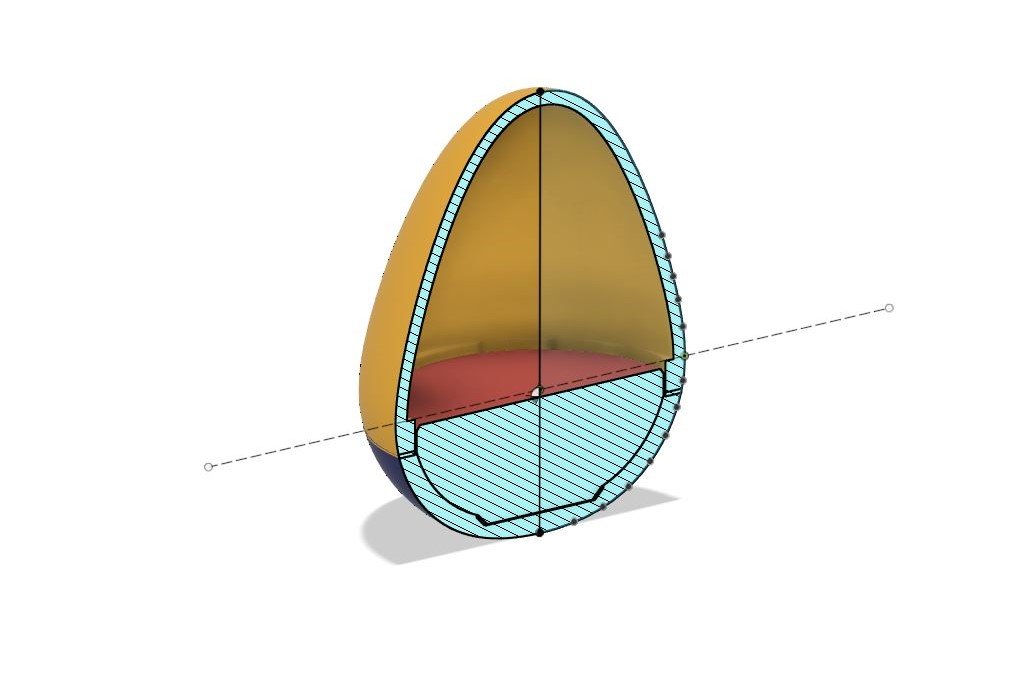
Last, but not least is the overarching question of what shape even makes a Wobble Egg? Aka Egg Maths.
This post is already quite long, and there’s still quite a bit more exploring I want to do in the world of Egg Maths. Expect a dedicated post in the future, for now I’ll tease at Egg Maths with the image bellow.
Closing Thoughts
Thanks for joining me for something new with this Design Showcase!
Without question the ‘tutorial’ format of my first two posts is much more in my comfort zone, but a key motivation for creating this blog in the first place was to challenge myself, both with new projects but also in my writing.
I’m really happy with how this has turned out and I hope you enjoyed it too! As always if you have any comments of feedback I’d love to hear from you.